



Automatic FFL works on your Shopify online store. When a customer checks out with ammunition you have flagged, it asks them to pick an FFL dealer and ships the order there. It does not apply to in-person POS sales, subscriptions, orders another app creates for you, or edits made to an order after it is placed.
Step 1 Install Automatic FFL Ammo
-
Click Open on the Shopify App Store listing.
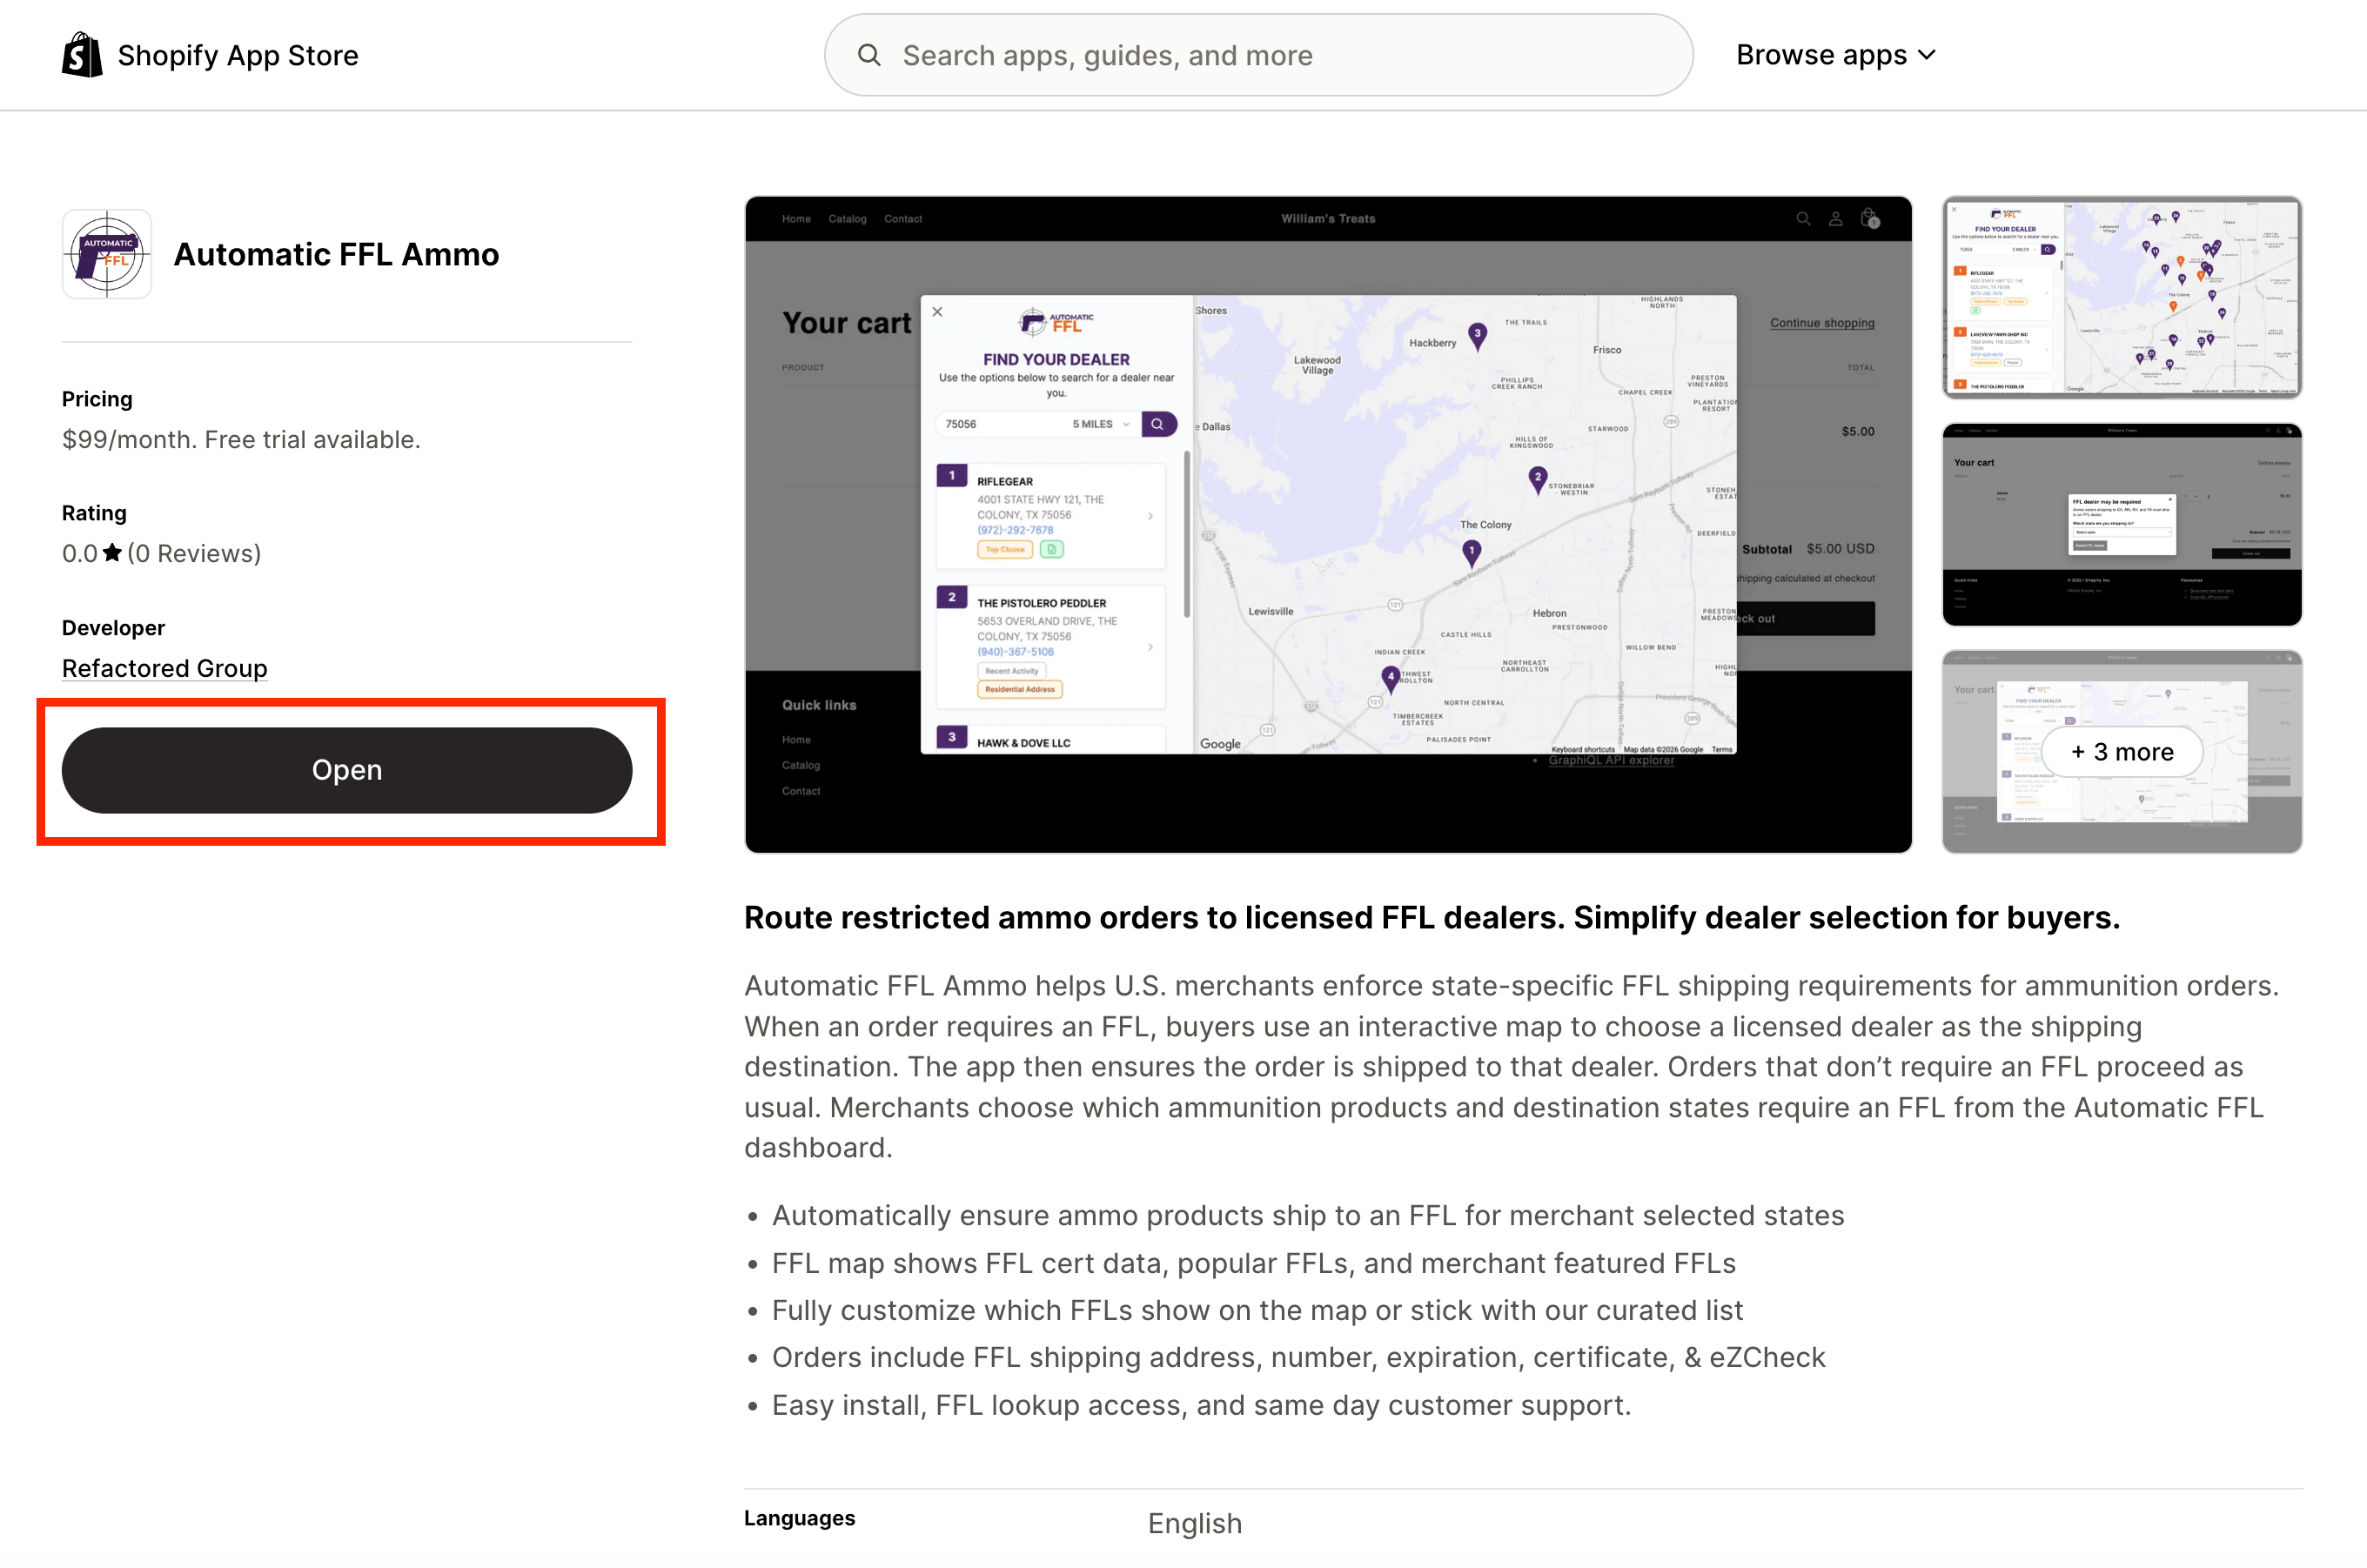
The Automatic FFL Ammo listing in the Shopify App Store. -
Select your Shopify store.
-
Review the requested permissions and click Install.
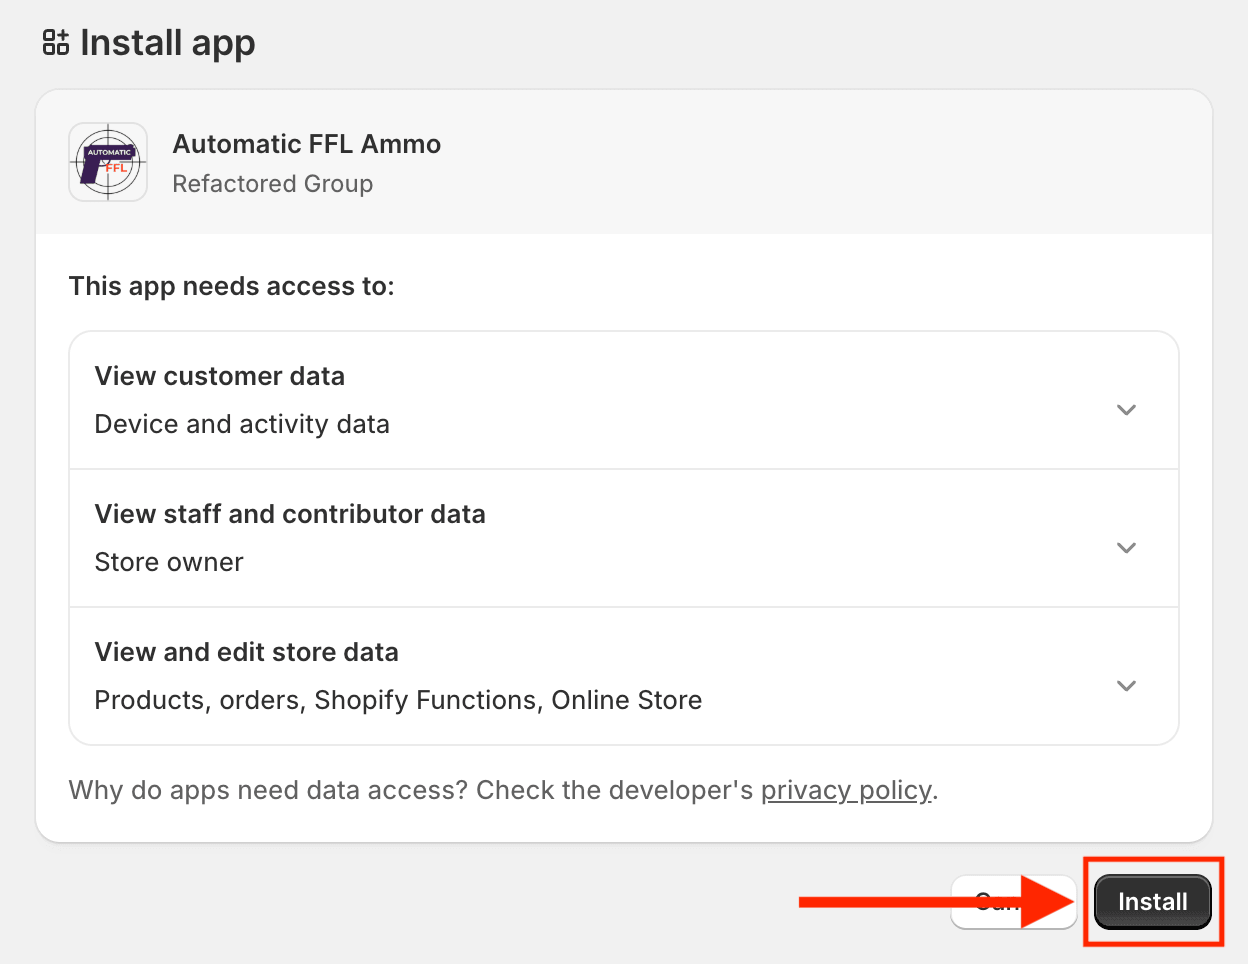
The permissions Automatic FFL Ammo asks for, and the Install button that approves them. -
Open Automatic FFL Ammo from the Apps section of Shopify Admin.
The app automatically creates your Automatic FFL account, or connects to your existing one. There are no keys or store IDs to copy over.
Step 2 Start your 30-day free trial
-
In the Automatic FFL Ammo app, click Start 30-day free trial.
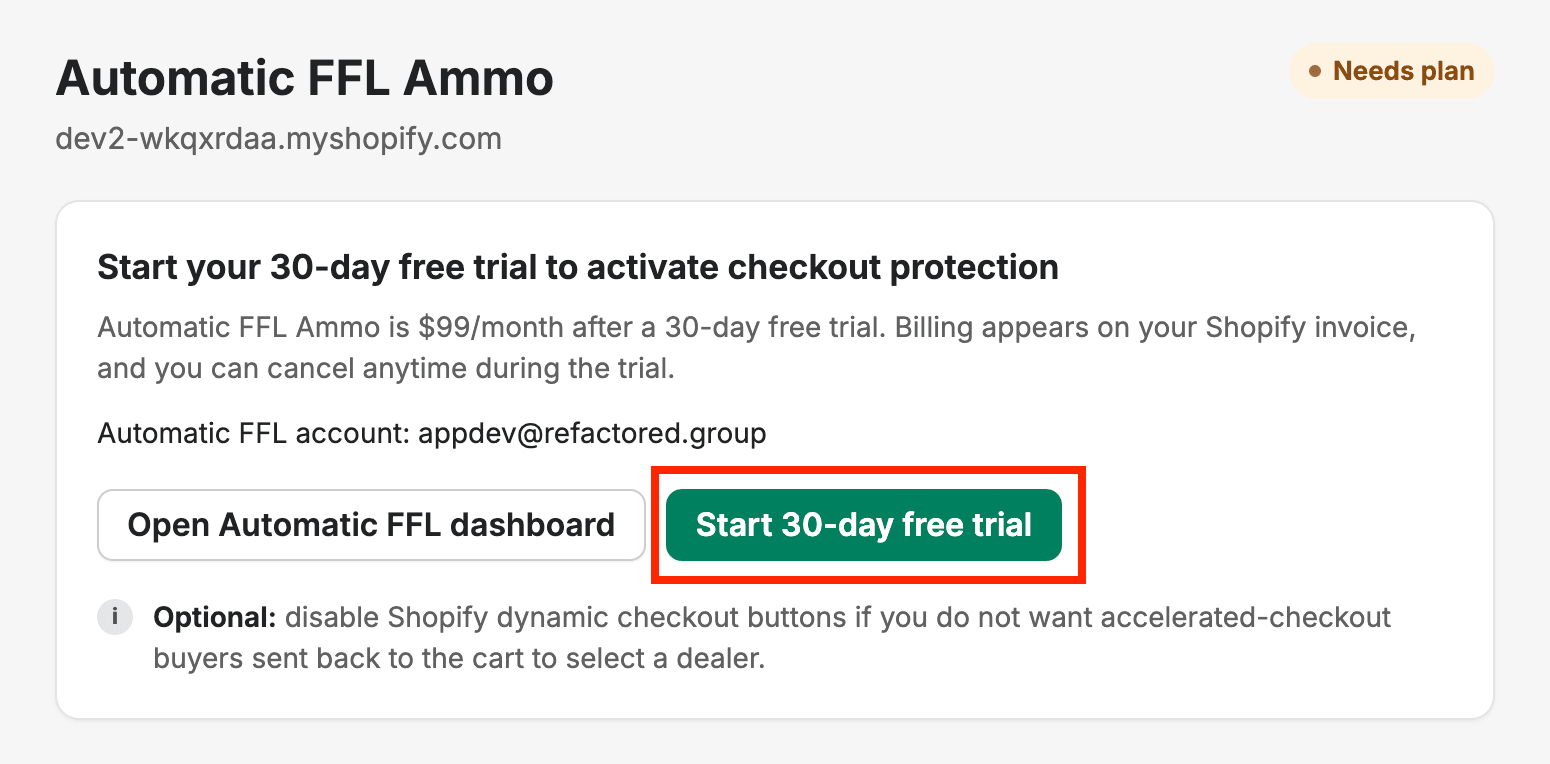
Before you subscribe, the app shows Needs plan and offers the 30-day free trial. -
Choose Pay monthly or Pay yearly, then select the Ammo plan.
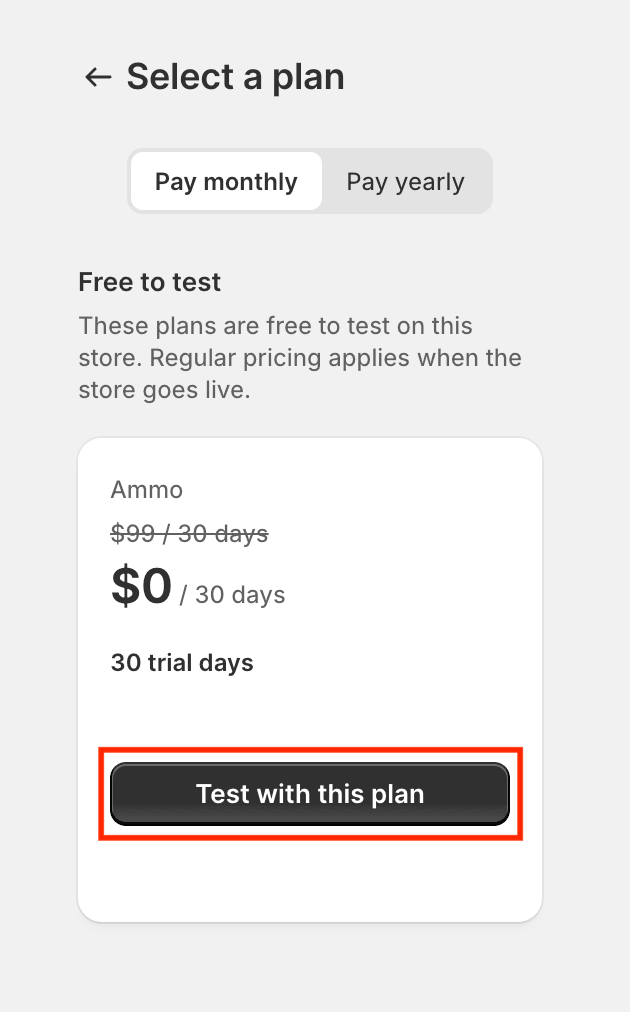
Choosing the monthly or yearly Ammo plan. -
Approve the subscription in Shopify.
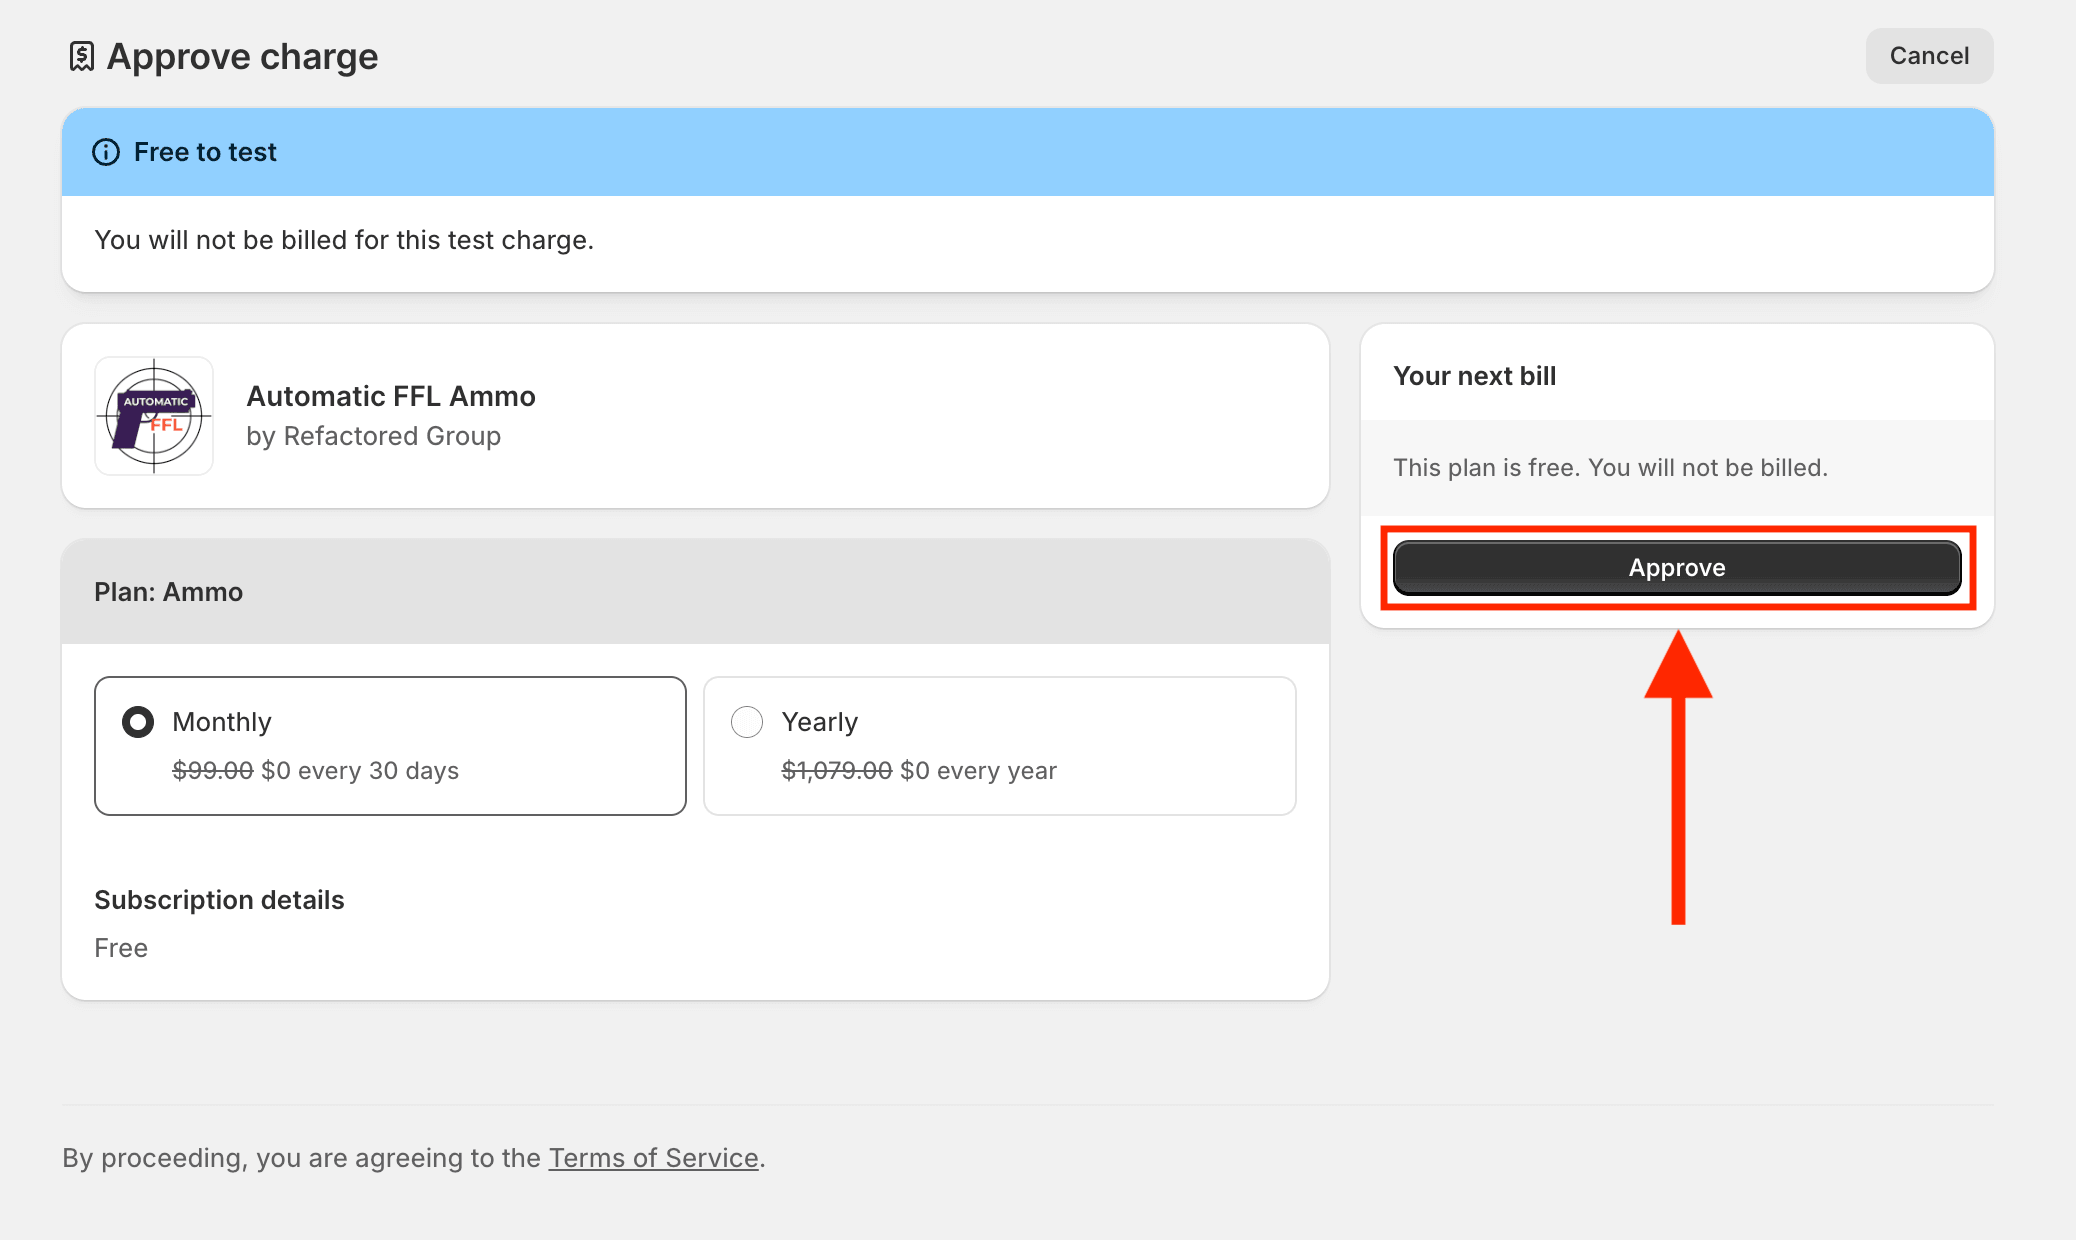
Approving the subscription in Shopify.
Step 3 Turn on FFL dealer selection
-
Return to Apps > Automatic FFL Ammo in Shopify Admin.
-
Click Turn on FFL dealer selection.
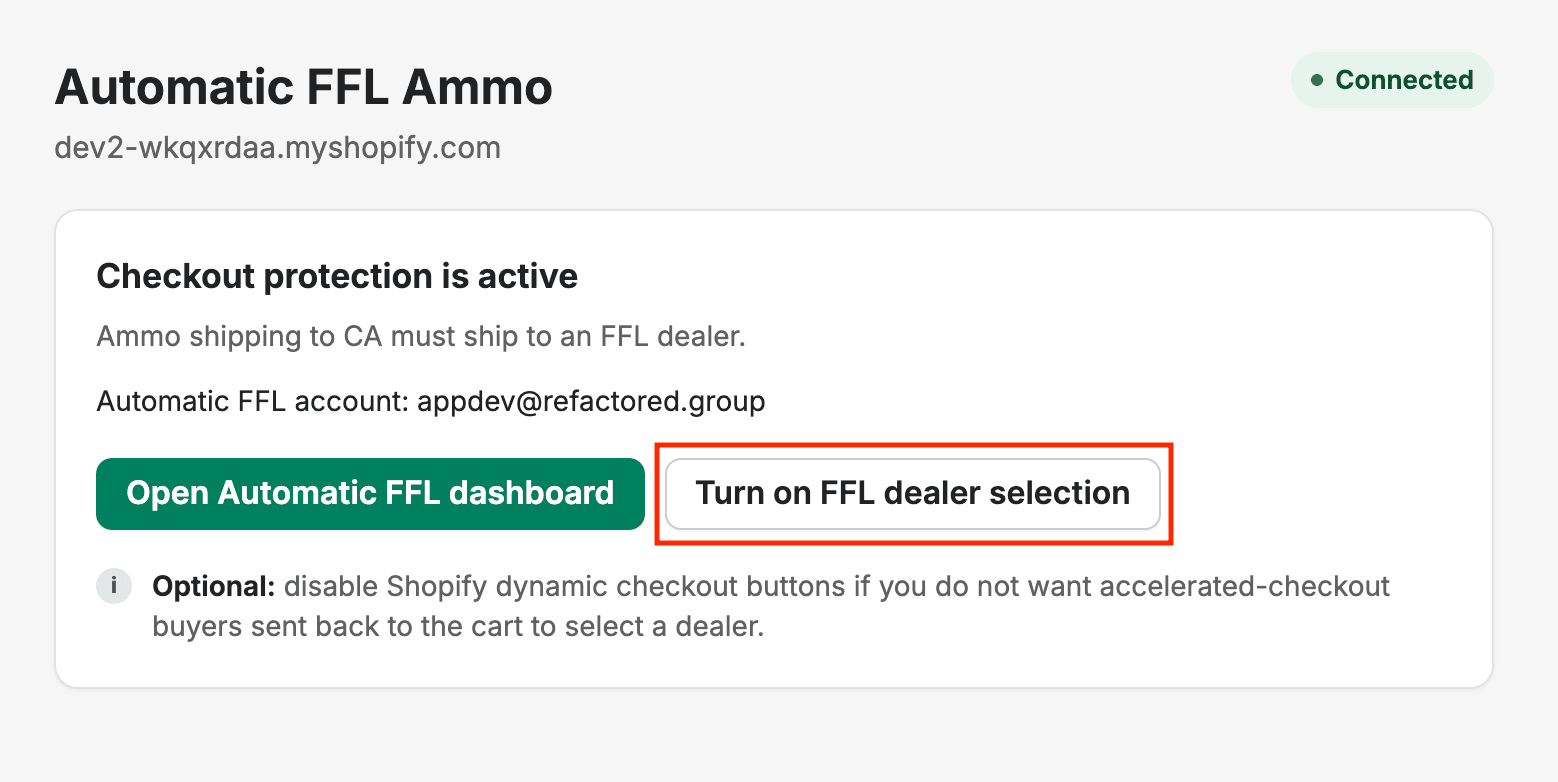
Once your subscription is active the app shows Connected, with Turn on FFL dealer selection. -
Shopify opens the theme editor to App embeds. Turn on Auto FFL checkout gate if it is not already enabled.
-
Click Save.
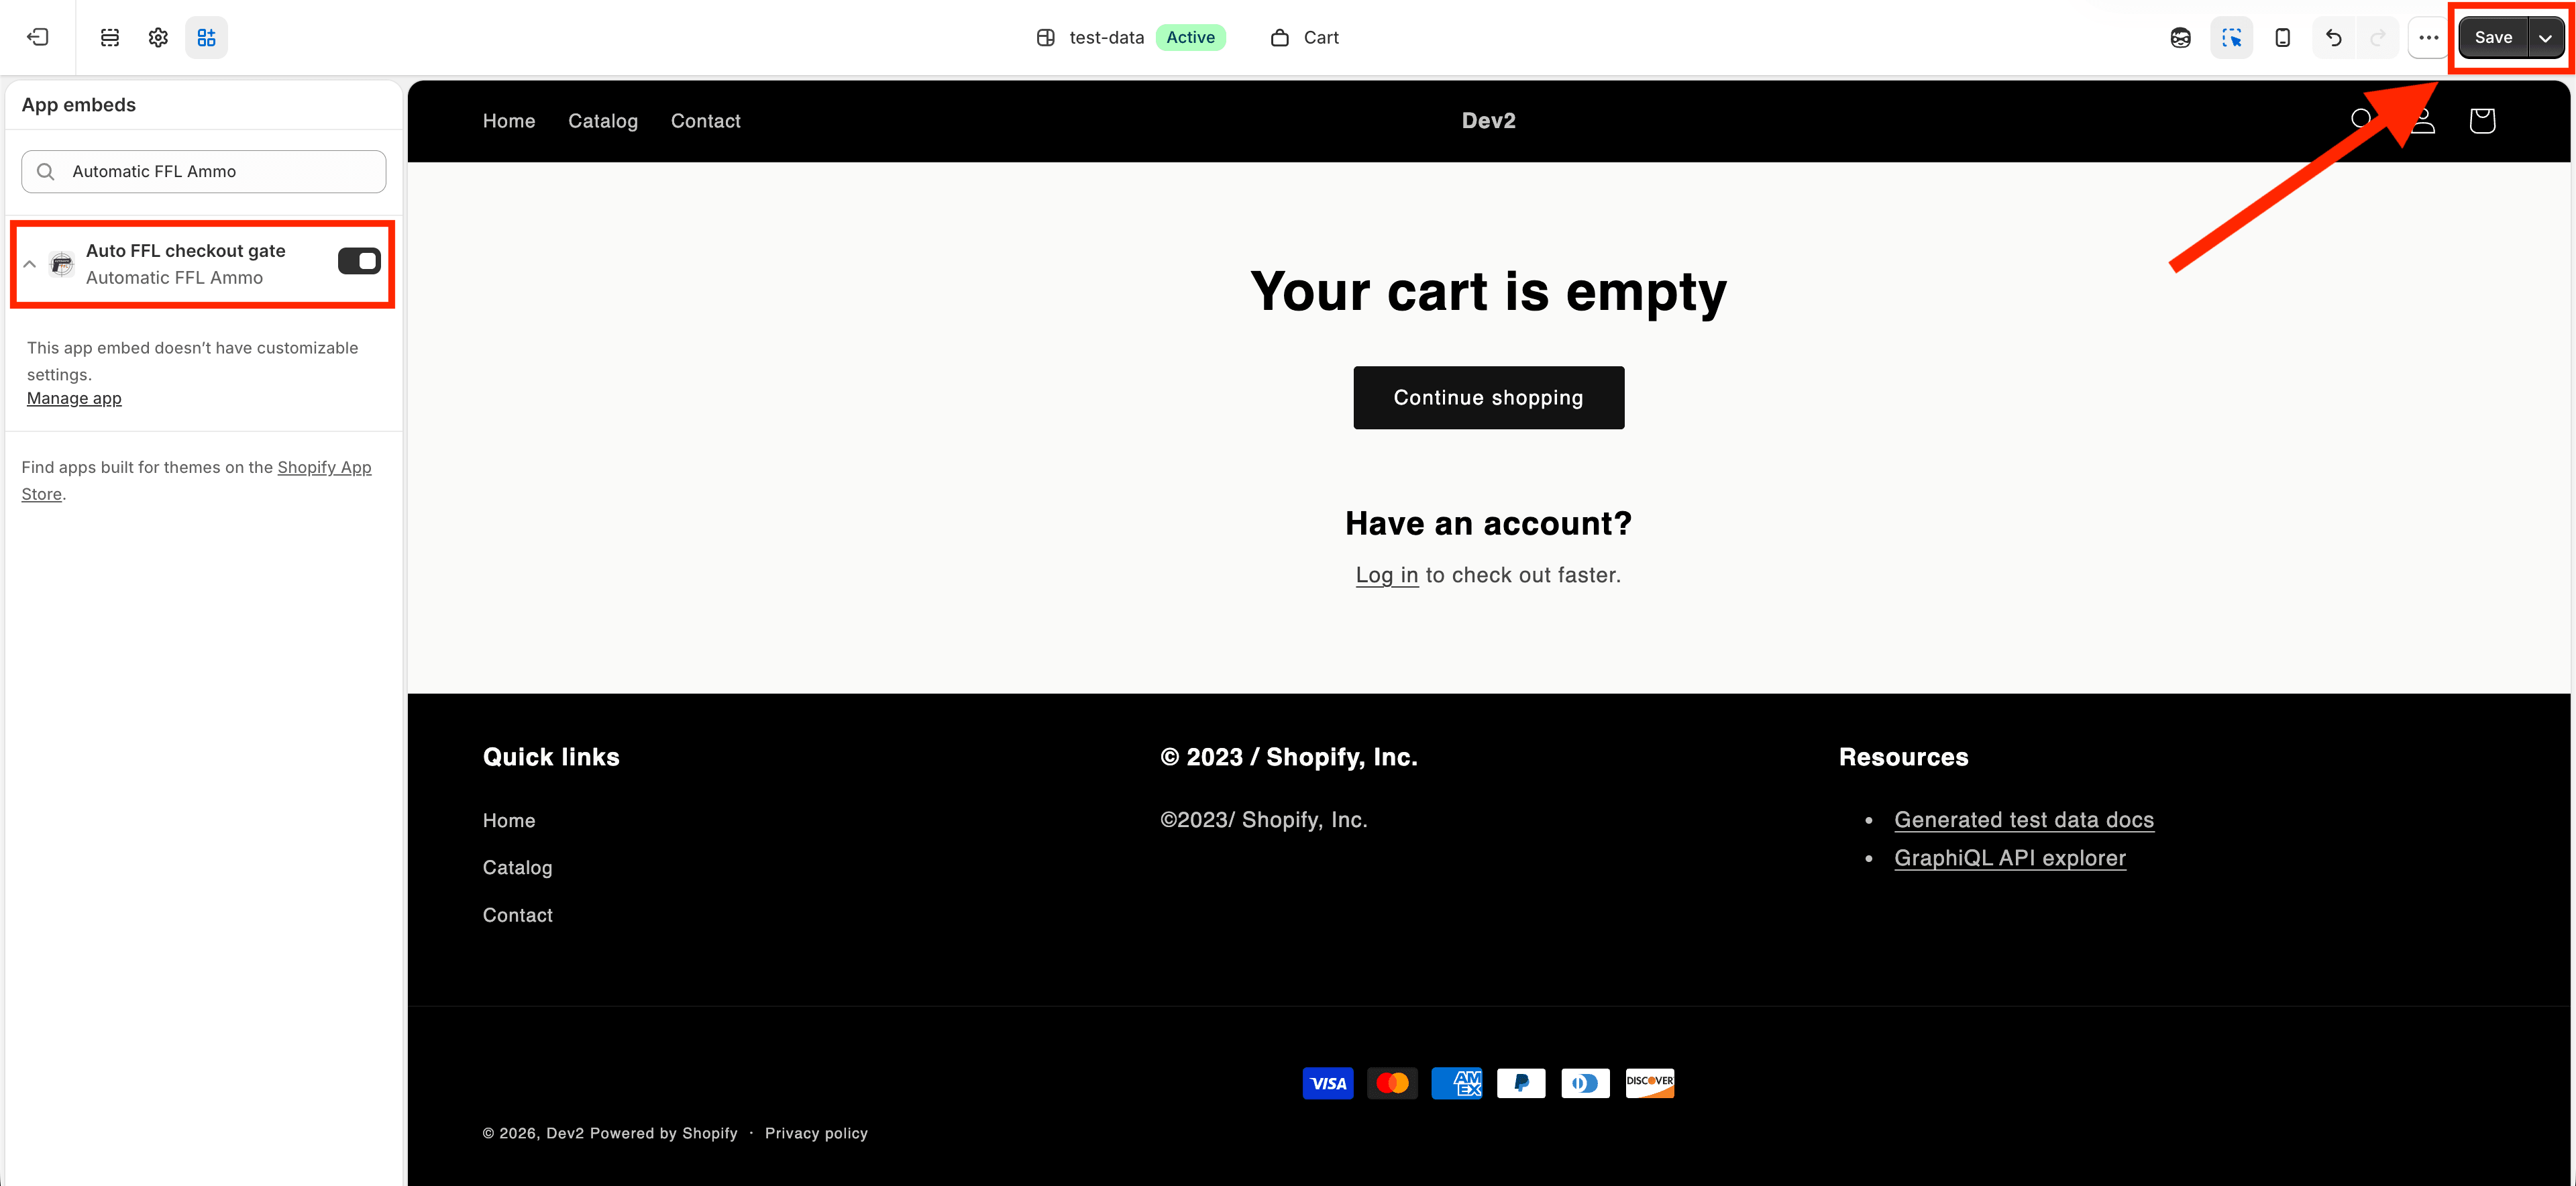
The Auto FFL checkout gate app embed switched on in the theme editor.
The app embed is what enables Automatic FFL on your storefront.
Dynamic checkout buttons
Dynamic checkout buttons can send a customer directly to an accelerated checkout. When restricted ammunition requires an FFL and no dealer has been selected, checkout is blocked and tells the customer to return to the cart. You can disable dynamic checkout buttons in your theme if you want every customer to begin with the guided cart flow.
Step 4 Assign Shopify product categories
Automatic FFL uses Shopify’s standard product categories to identify which products should follow your ammunition policy.
-
In Shopify Admin, go to Products.
-
Open an ammunition product.
-
In the Category field, assign the appropriate Shopify standard product category.
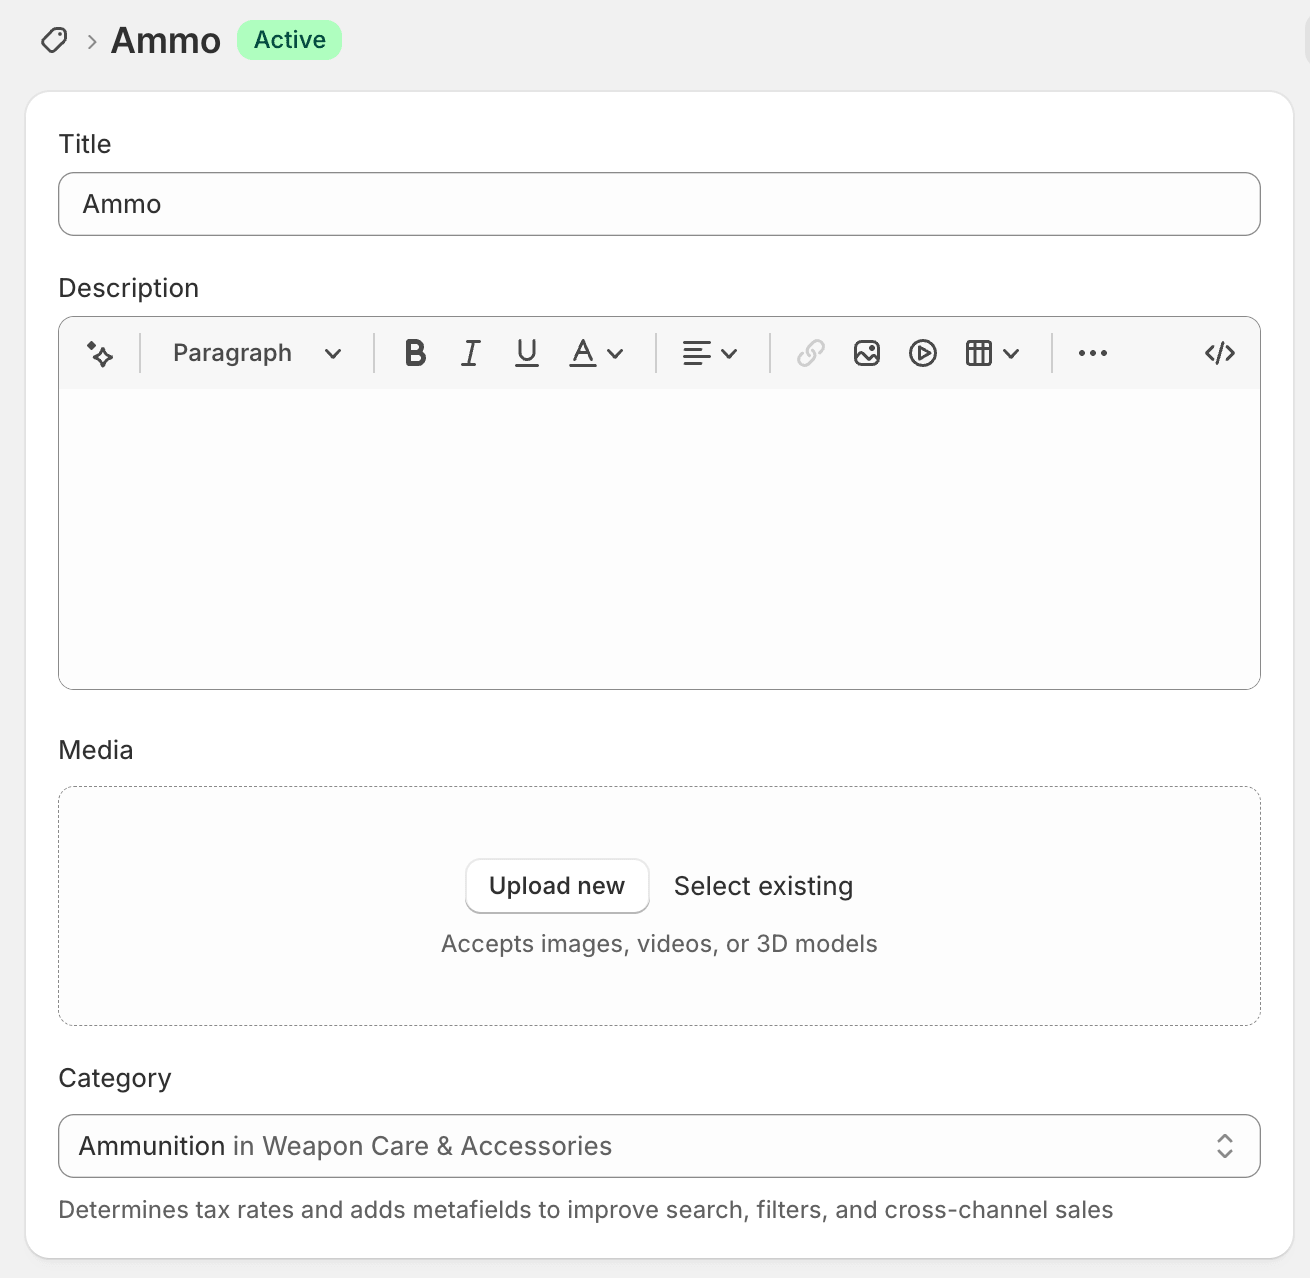
The Category field on an ammunition product, set to Ammunition in Weapon Care & Accessories. -
Click Save.
-
Repeat this for every ammunition product, or use Shopify’s bulk editor when appropriate.
Step 5 Configure ammunition categories and states
-
Return to Apps > Automatic FFL Ammo in Shopify Admin.
-
Click Open Automatic FFL dashboard.
-
On the Edit your store page, open Ammo Categories and check the Shopify categories that contain ammunition.
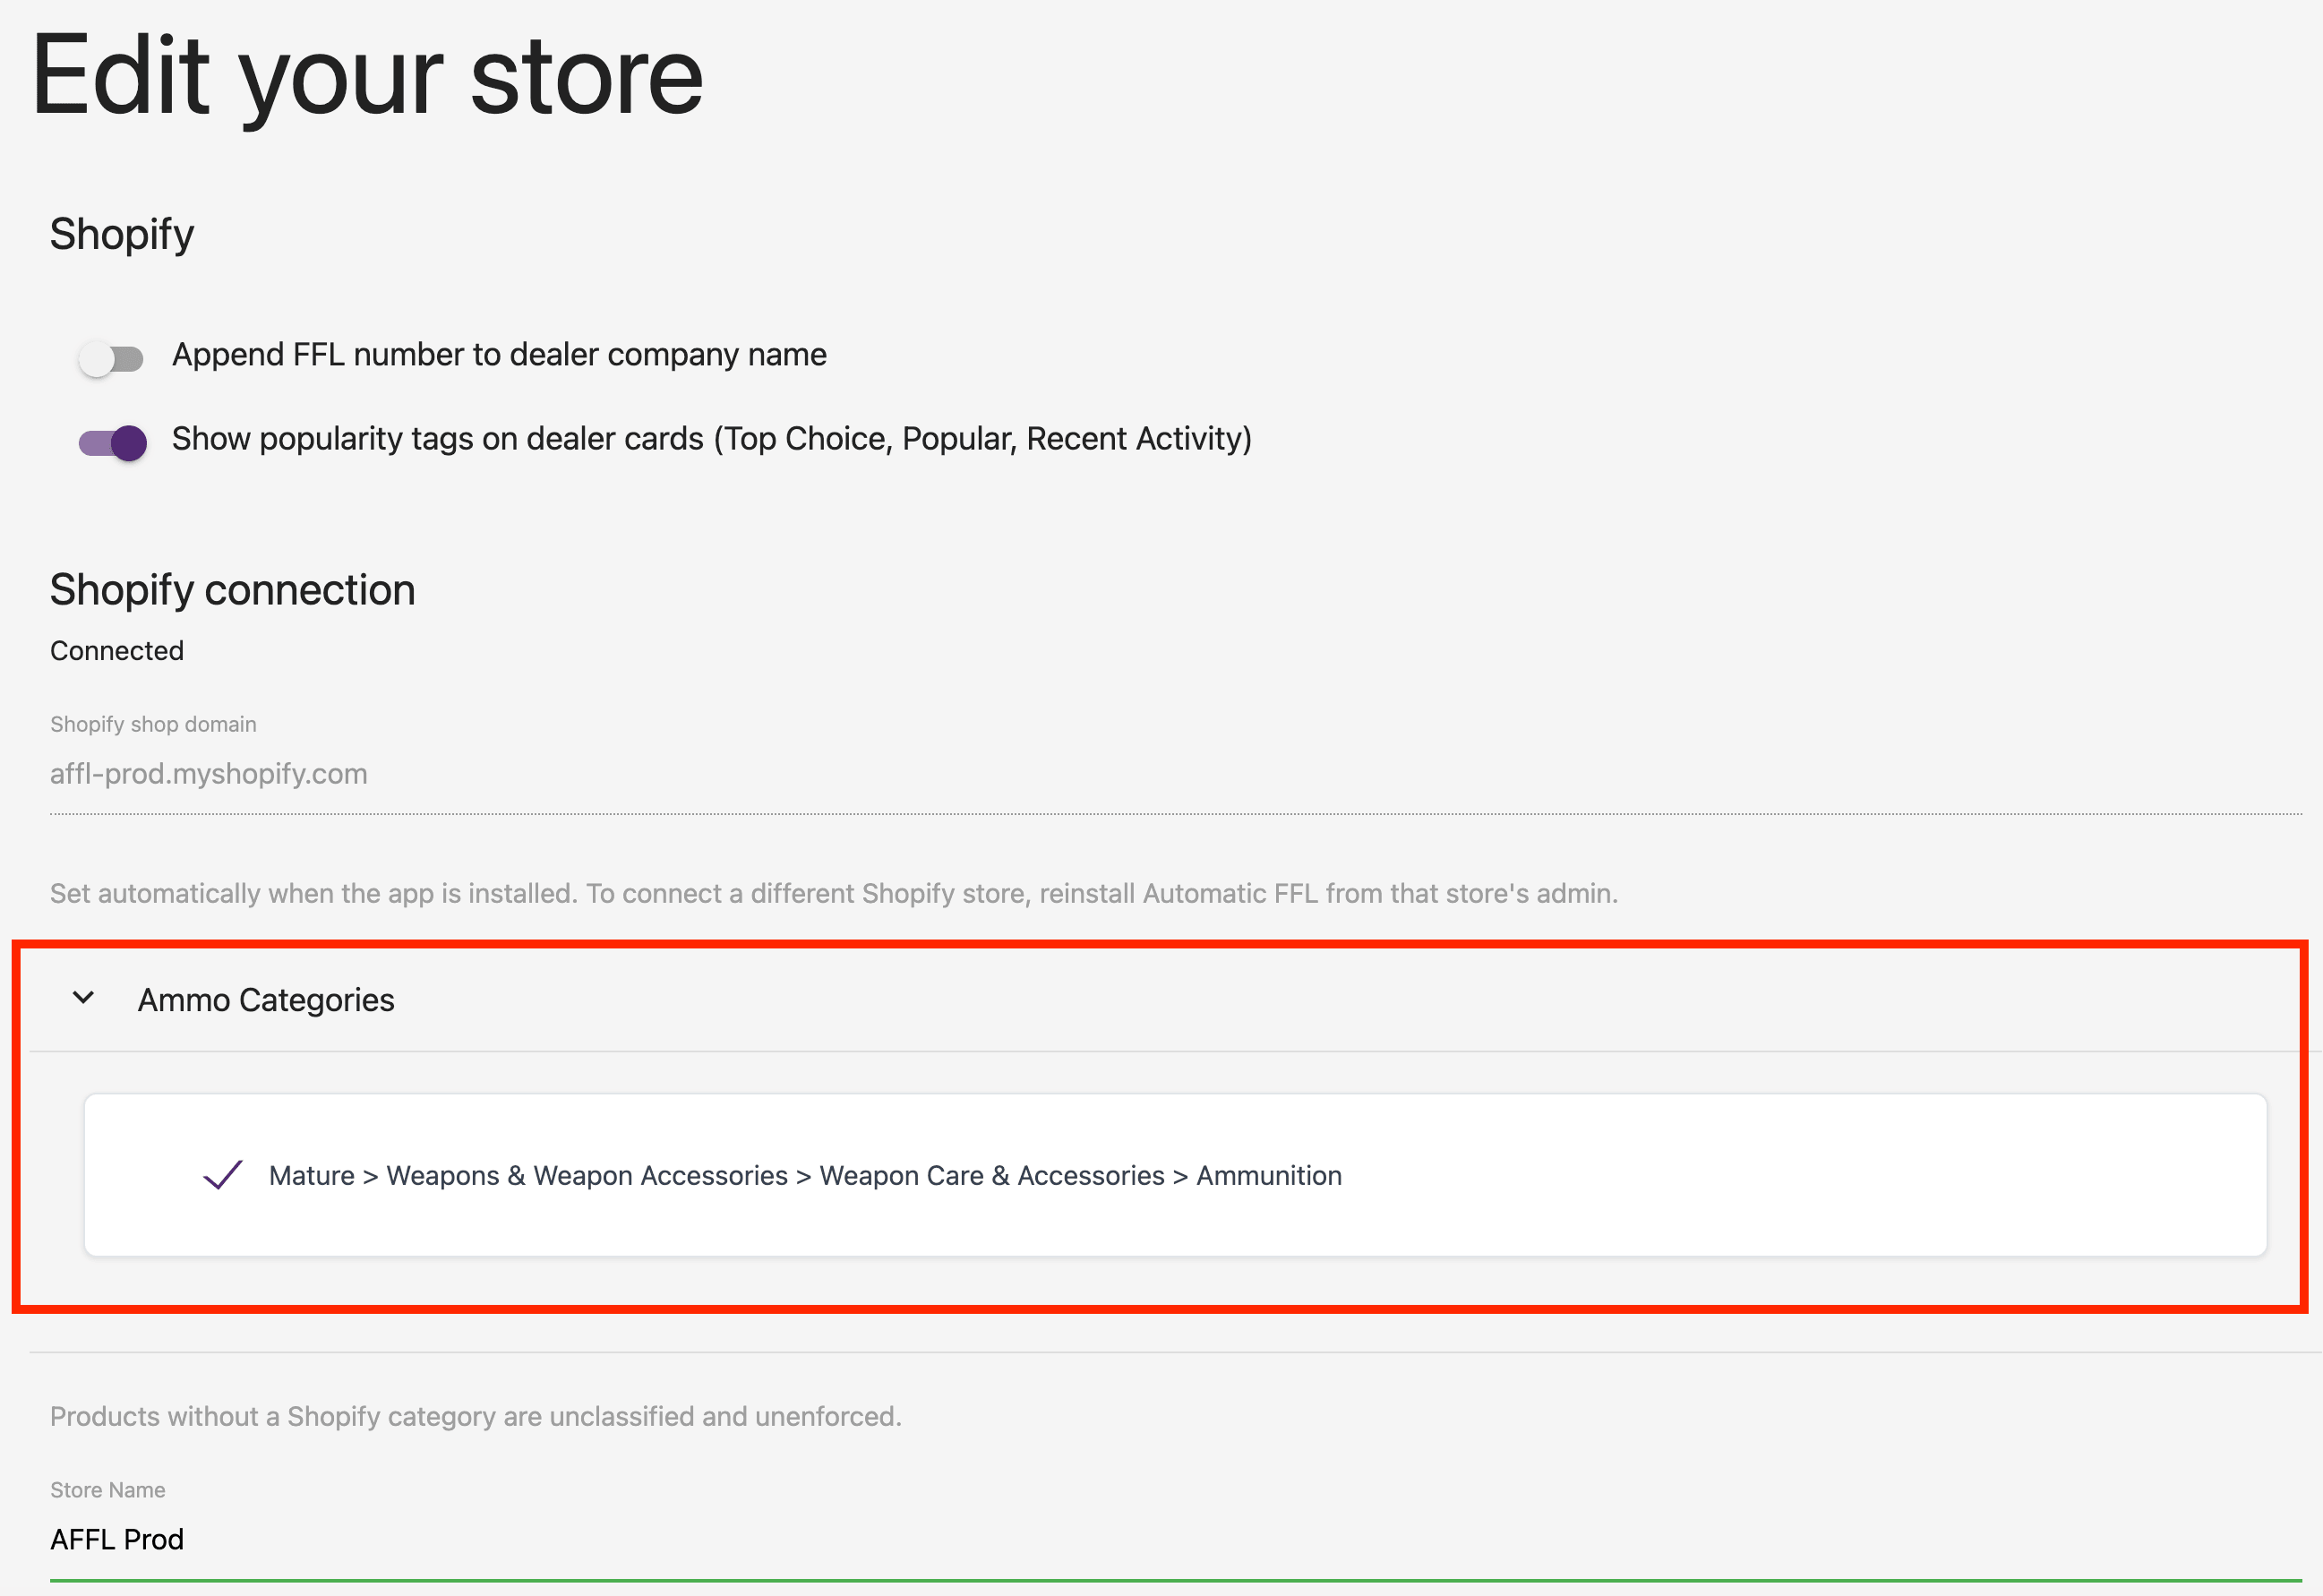
The Ammo Categories section on the Edit your store page, with an ammunition category checked. -
Click Update to save. Automatic FFL will sync the policy to Shopify in the background.
-
Click Ammo in the top right of the navigation bar.
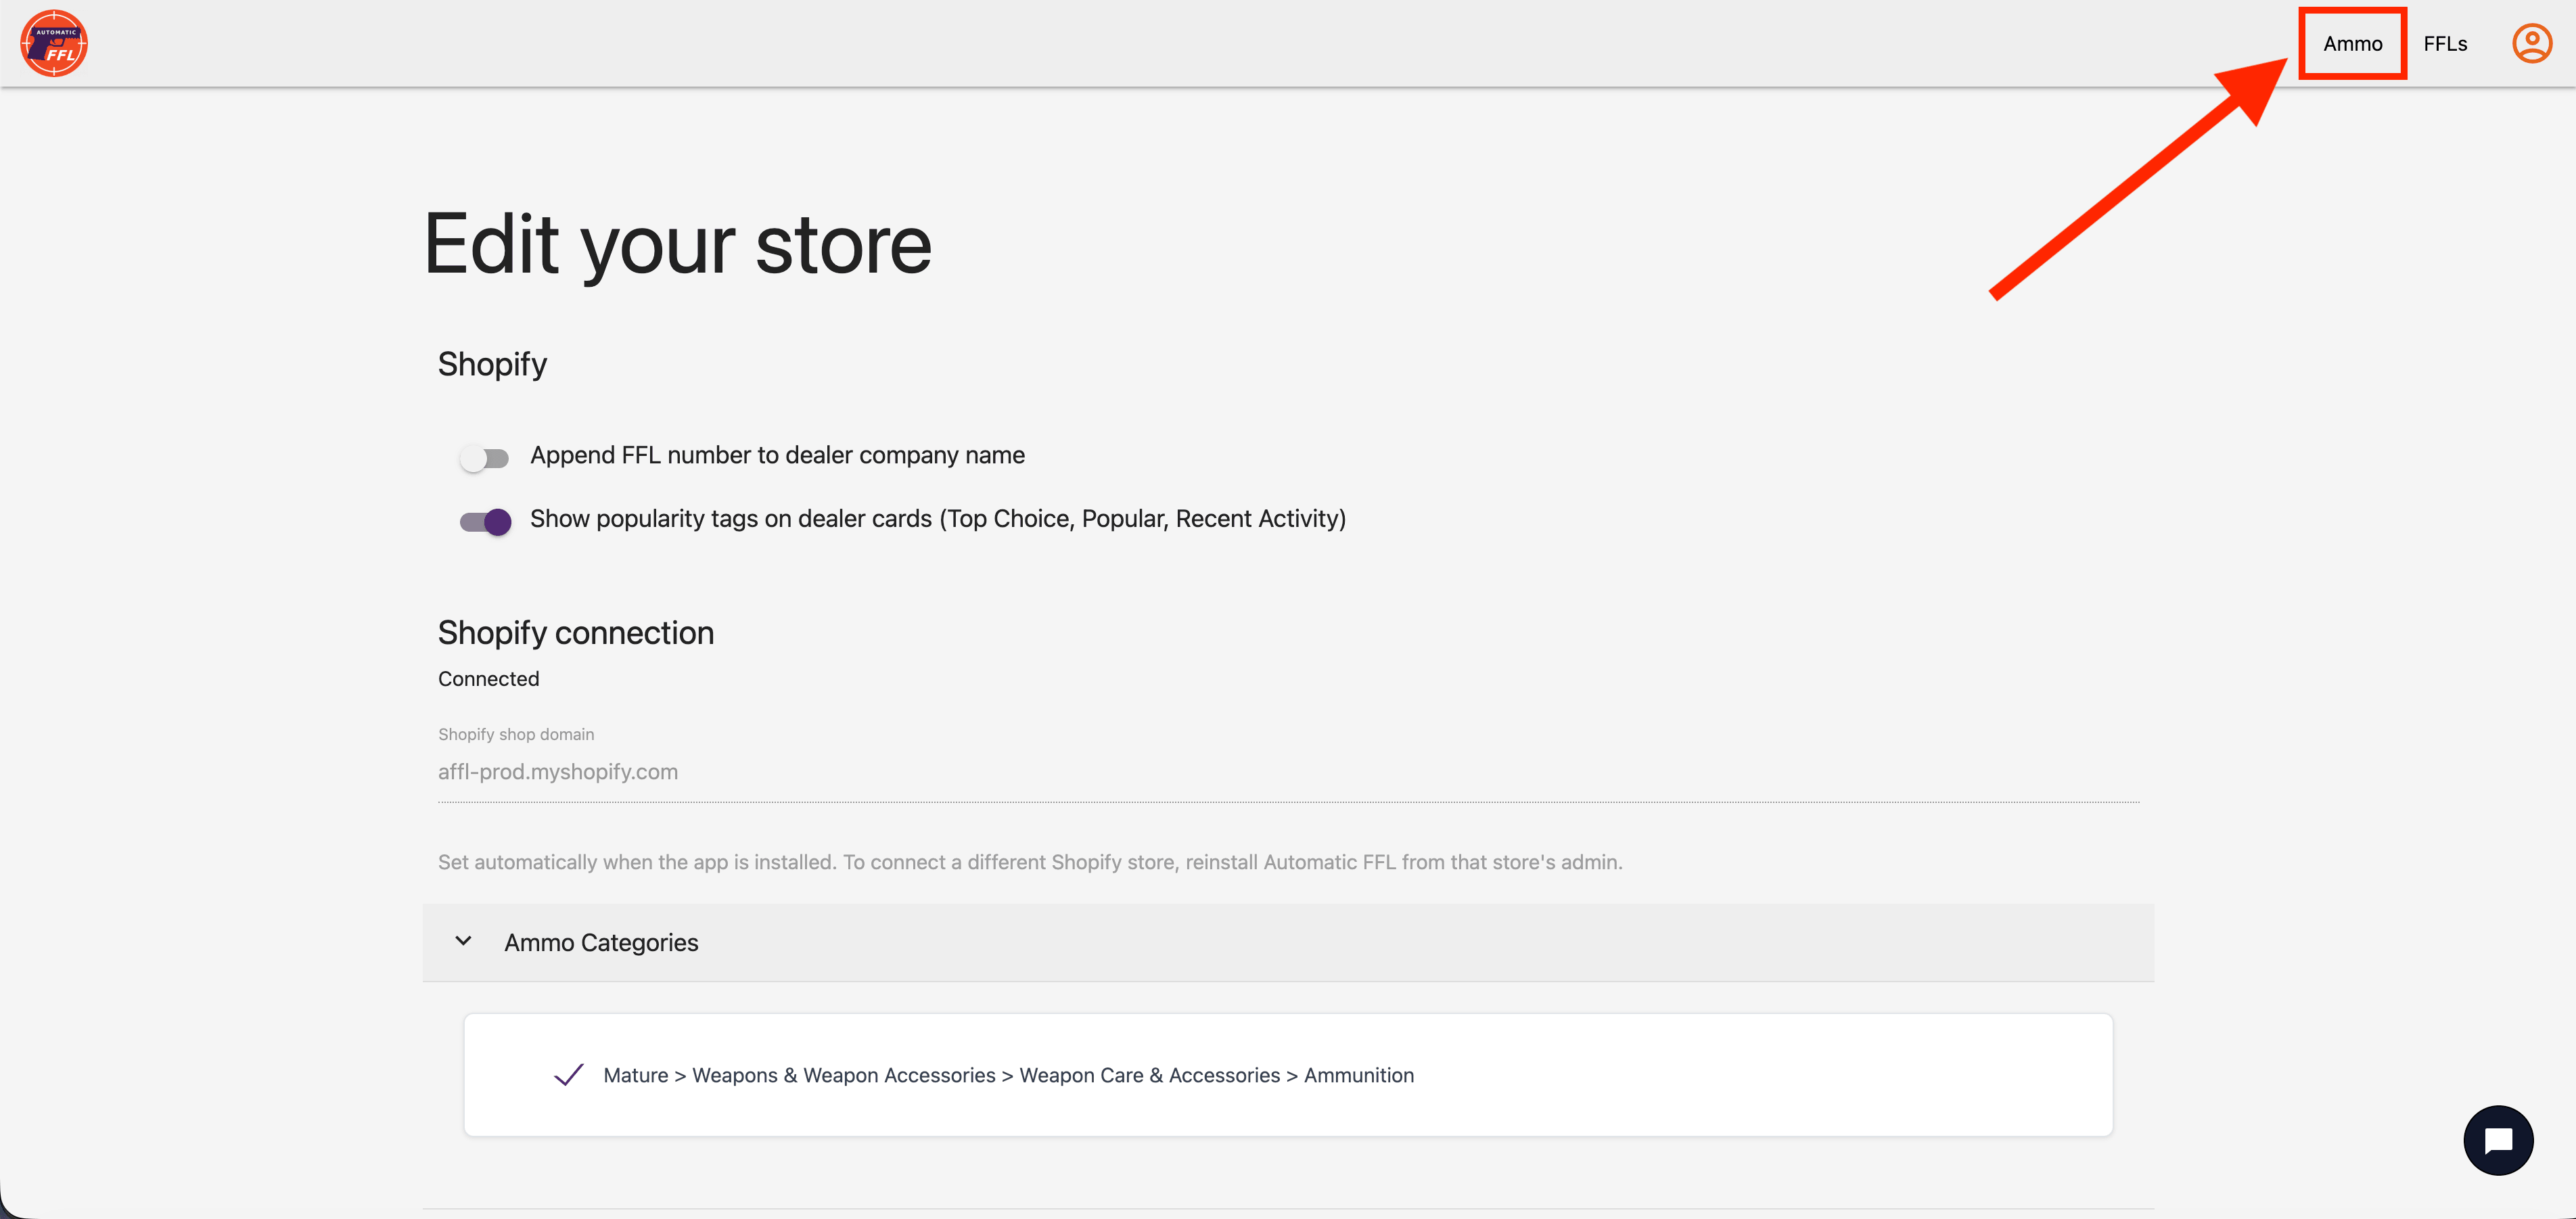
Ammo in the top right of the navigation bar. -
On the Shipping Rules page, check every state where you require ammunition to ship to an FFL. This page saves automatically.
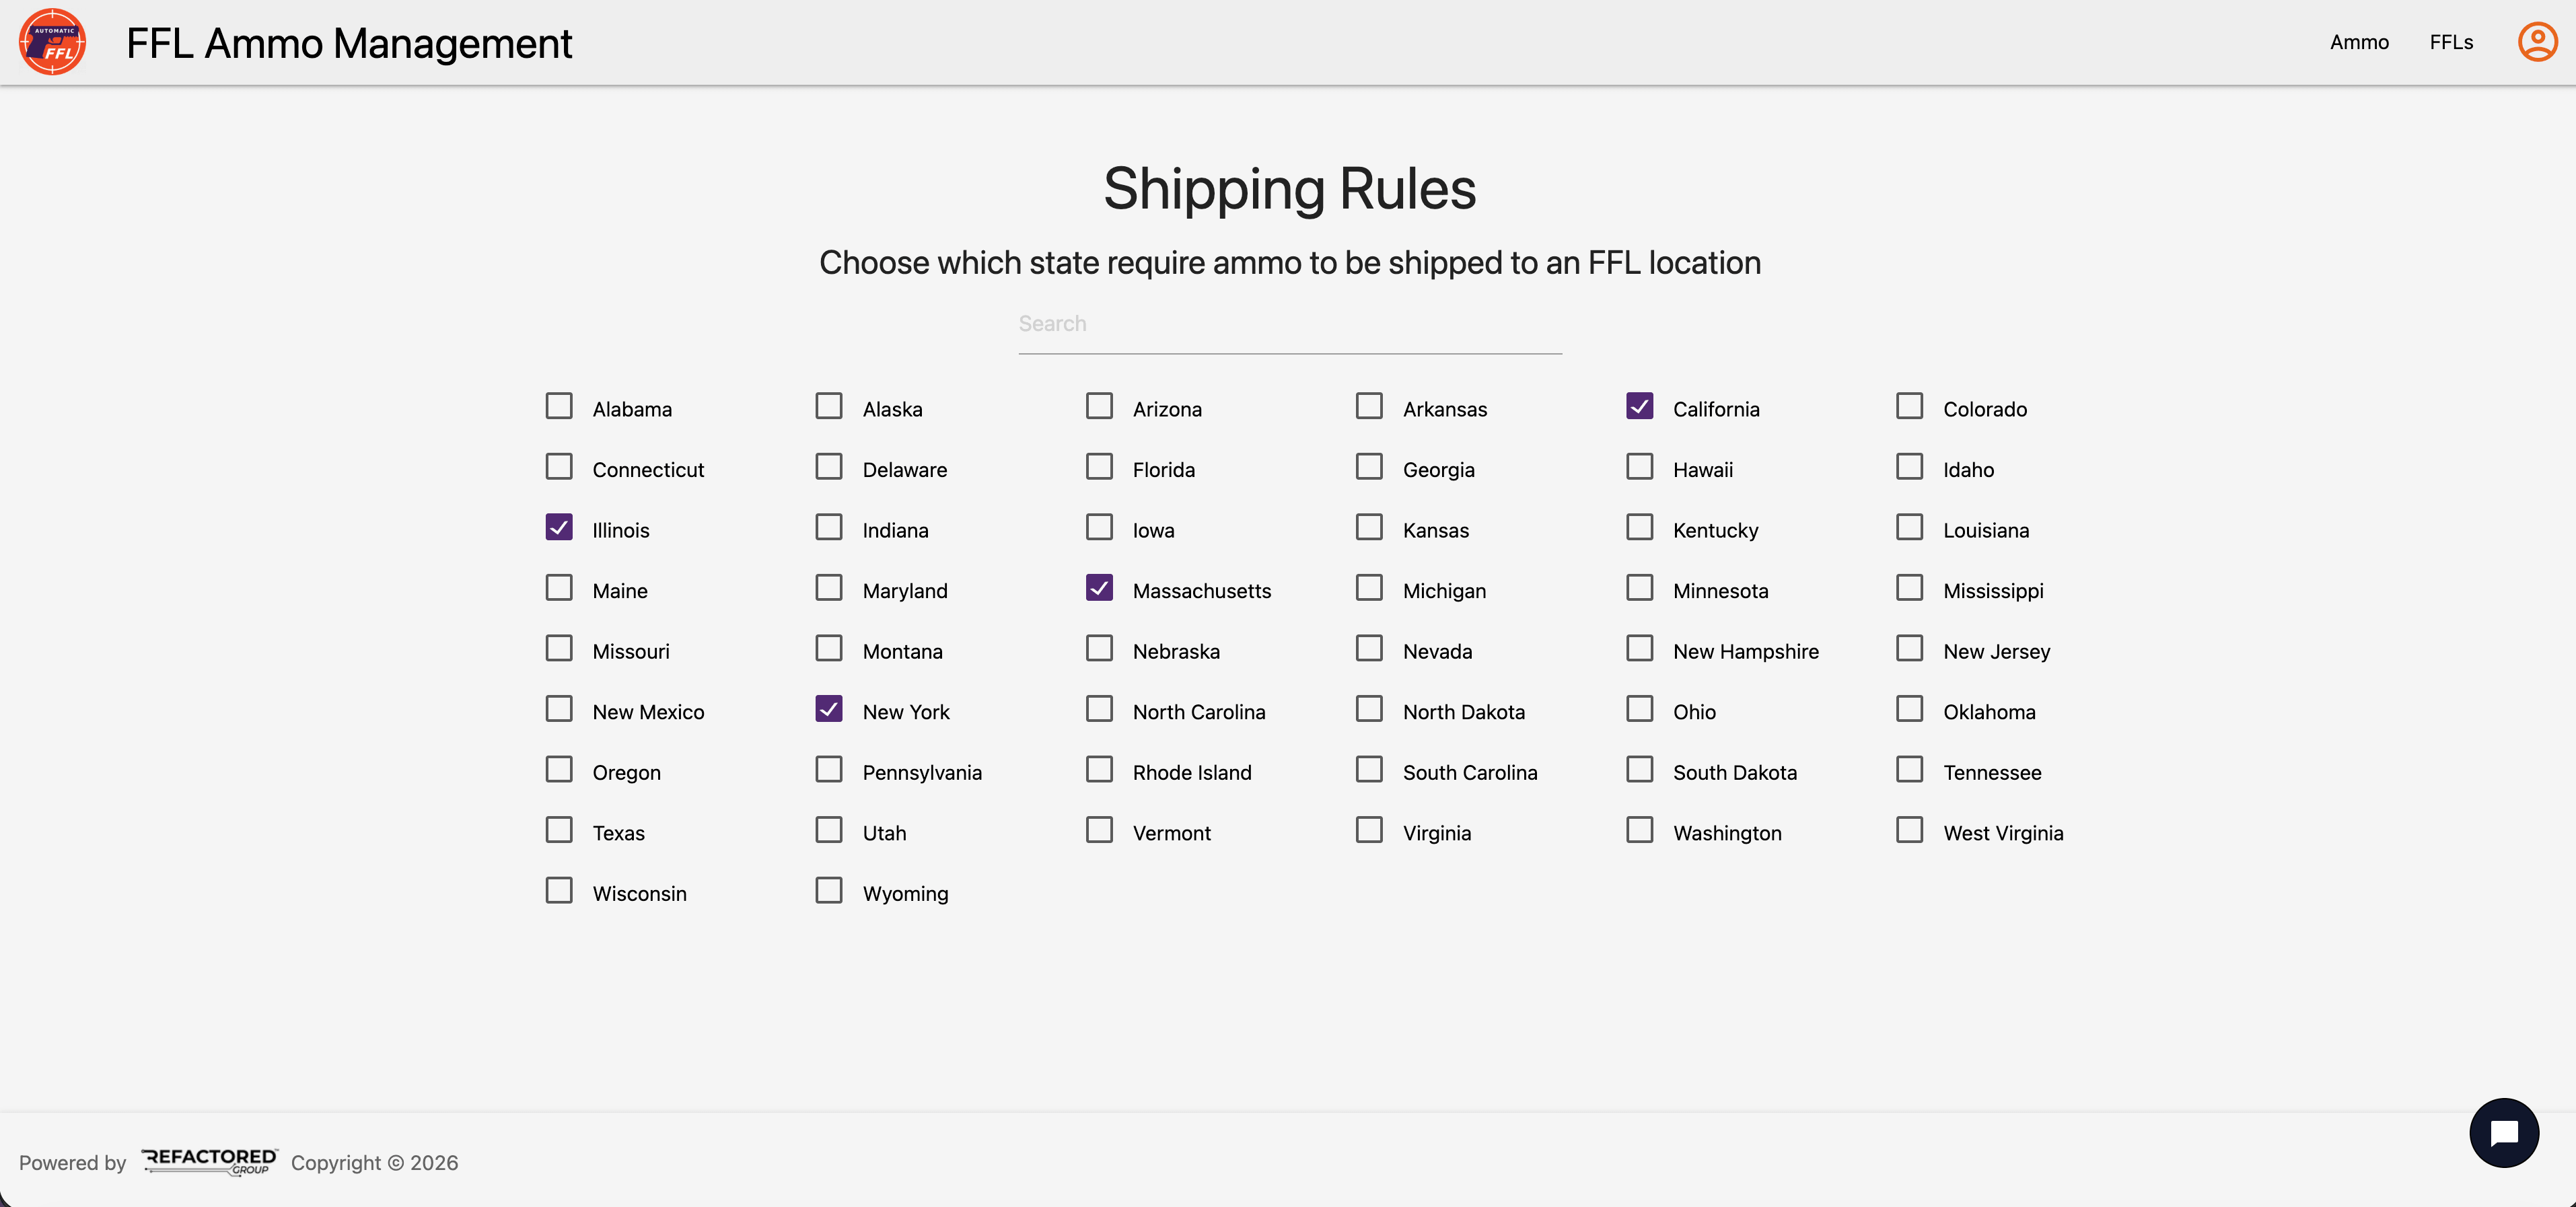
Shipping Rules, where you choose the states that require ammo to ship to an FFL.
Step 6 Try it on your storefront
Place a test order. Add an ammunition product to your cart, and you should be asked which state you are shipping to. Choose one of your FFL-required states, pick a dealer, and that dealer becomes the shipping address at checkout.
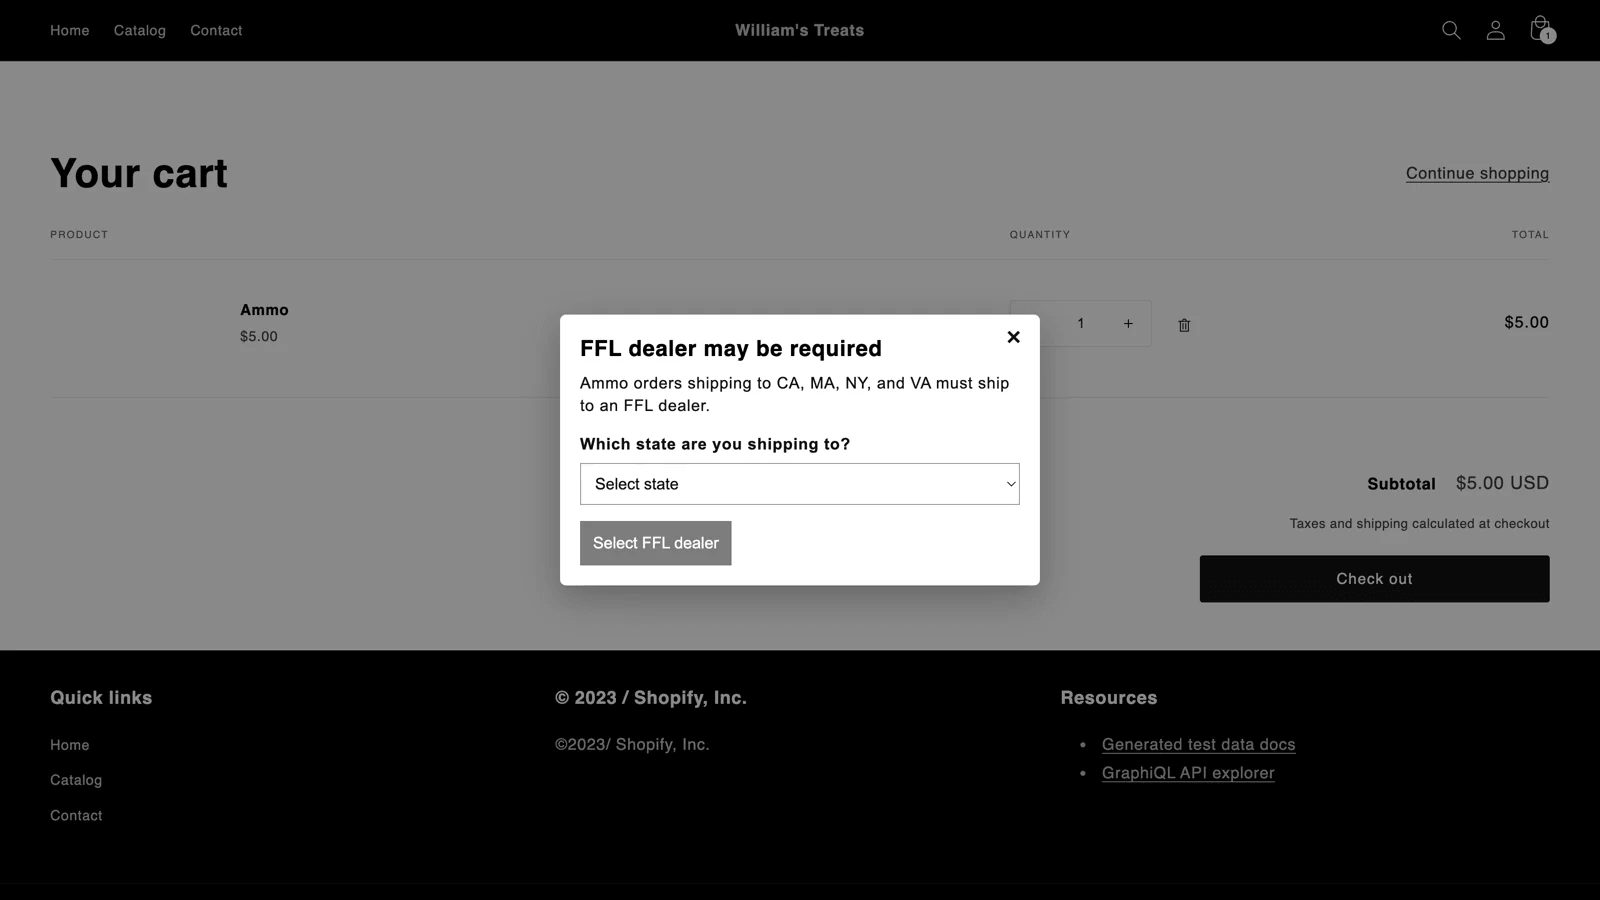
Dealer management
Automatic FFL gives you the ability to customize the list of dealers available during checkout. See the Automatic FFL documentation for complete details.